

Last Updated: October 1, 2024
You can use a Zoom plug-in offered by Perigean to generate transcripts of your recorded sessions. You’ll need to enable this before each session to ensure that you get the transcripts to supplement notes taken by your notetaker.
Before you begin
Log in to Perigean’s Zoom meeting so you are the host. Follow the steps below before each session begins to create a transcript of the recorded session.
Step-by-step guide
Step 1: Start transcripts
In the bottom toolbar of the Zoom window, click the MORE arrow next to the SHOW CAPTIONS button.

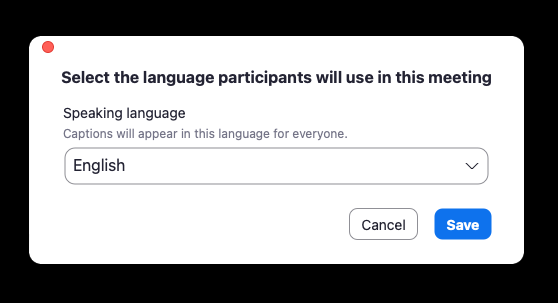
Step 2: Select a language
-
Select the language meeting participants will use in this session.
-
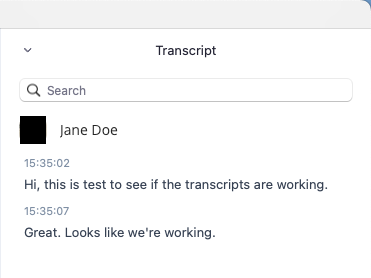
The transcripts panel will open to the right. Take a moment and say a few words to make sure the transcription is working.
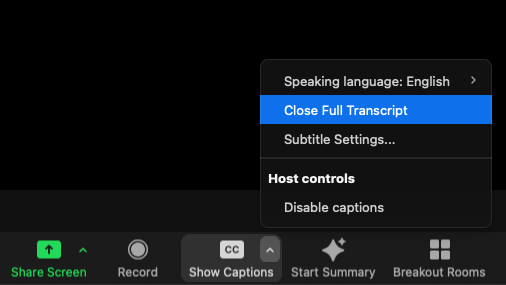
Step 3: Close the transcript panel
To limit distractions during the sessions, you’ll probably want to close the TRANSCRIPT panel. To do this, click on CLOSE FULL TRANSCRIPT in the SHOW CAPTIONS menu.
Step 4: Save the transcript
When the session is done, you can save the transcripts locally by opening the TRANSCRIPT panel again and clicking the SAVE TRANSCRIPTS button at the bottom of the panel. You’ll also have access to this transcript where you access your recordings.


Step 5: Share with your notetaker
Once you’ve saved the transcripts to your local hard drive, you’ll want to share them with your notetaker so they can fill in any gaps in their notes.
Help and feedback
-
Get help from the Platform Support Team in Slack.
-
Submit a feature idea to the Platform.