EKS Endpoint Testing
Last Updated: November 18, 2025
Intro
While the preferred testing method for vets-api endpoints in EKS is Datadog Synthetics, VFS members don't currently have access to Datadog. To keep testing uniform and consistent, we are encouraging VFS teams to create a Postman suite to hold their tests. Alternatively, you can record manual test run results in Test Rail.
Creating Postman Collections & Tests
Create a Collection
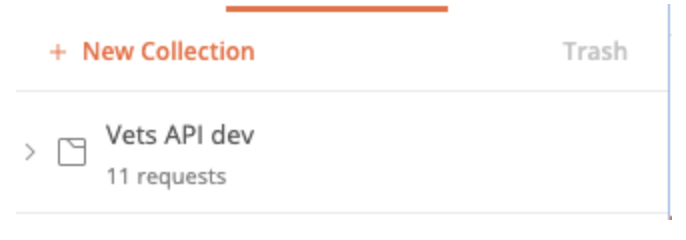
Creating a new Collection
Add Requests to the Collection
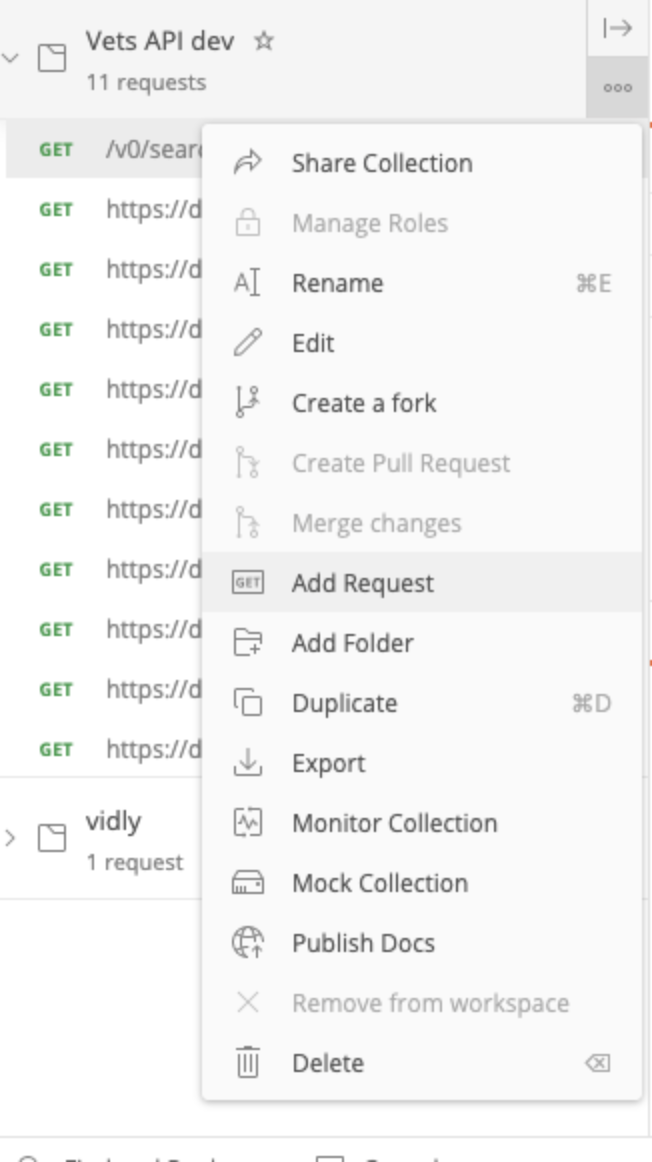
Add Requests to the Collection
3. Use variables for secrets. Variables are useful because they are reusable.
4. Run the Test

Run the Postman Test
5. Share the Collection
Notes:
You can record test examples. This would be helpful for viewing expected test inputs/outputs.
Mock Auth (for dev and local stacks only)
The instructions provided below explain how to simulate authentication, a beneficial method for synthetic testing using Datadog. As of now, when creating tests scoped to Vets API in Datadog, we're confined to browser-based tests if authentication is required. This constraint is due to the fact that the necessary session cookies do not remain active in Datadog's API-only tests.
How to Mock Auth
On
localhost, inidme/configuration.rborlogingov/configuration.rb, setlog_credentialtotrueAuthenticate with the test user on
localhost, make sure to useoauth=truein the sign in modal to use sign in serviceOnce authenticated, a new file should be created in your
mockdatarepo representing the credential you authenticated with
Take the new file that’s created, and perform the following:
encoded_credential = Base64.encode64(credential.to_json)Now, on dev or localhost stack, start the
sign in service /authorizeprocess
curlhttps://dev-api.va.gov/v0/sign_in/authorize?type=idme&code_challenge_method=S256&acr=loa3&client_id=vamock&code_challenge=1BUpxy37SoIPmKw96wbd6MDcvayOYm3ptT-zbe6L_zM=Change
type=<csp>to the csp you want to log in withThis
curlreturns some params, take note of the state valueNext, make a call to mocked authentication:
curllocalhost:3000/mocked_authentication/authorize?credential_info=<encoded_credential>&state=<state>Use
encoded_credentialandstatefrom aboveWe intentionally don’t use
-Loption incurlto follow the redirect, since it’ll eventually redirect to the frontend, and we don’t want thatThe result of the curl will tell you the next url to curl, so copy that and follow it (it’ll say ‘you are being redirected to’):
curl
<https://dev-api.va.gov/v0/sign_in/callback?code=<code>&state=<state>>This will say ‘you are being redirect to…’, grab the
codefrom the URL: …login/callback?code=<code>Finally, make a call to sign in service to swap the code for tokens:
curl -X POST localhost:3000/v0/sign_in/token -H 'Content-Type: application/json' -d '{"grant_type": "authorization_code", "code_verifier": "5787d673fb784c90f0e309883241803d", "code": "<code>"}This will give you back tokens that you can use for Bearer header for arbitrary authenticated routes
Creating a Test User (for Dev)
While the Test User Dashboard (Only accessible behind the VA Network [CAG/AVD, or GFE]) has a variety of test users, it would be best for teams to create their own dedicated test users to avoid modifying the data into undesired states. Eg. Team 1 does a post request that modifies a field that Team 2 needs.
Create a new user on staging
Go to Sign in => Create an Account with ID.me
Use fake email and password
Enter fake phone number - and ID.me will bypass the verification
Enter fake credit verification info
Follow the steps and redirect back to va.gov
Log into staging
This will create a real MPI record for the user on the MPI test stack.
Make sure that
oauth=trueis set when clicking the Sign in buttonGo to
https://staging-api.va.gov/v0/sign_in/introspectGrab the
icn. You will need this when mocking the MPI response.
For dev, to avoid issues, MPI data for this user should be mocked (via betamocks)
See document to add mocked data for a new user - Important: Be sure to run the rake task on a STAGING instance
bundle exec rails mockdata_synchronize:mpi_profile_icn\[<icn>\]` MPI environments are different across stacks, so it’s important to record this mock data in the vets-api staging environment.
Record the user in TUD for team awareness
Note: Depending on the specific test needs, it’s also possible that entires for test users will need to be coordinated/created within relevant external services if that are not mocked. E.g. BGS is not mocked on dev, while EVSS is.
How to Send Authenticated Requests to Vets API
In the browser select Sign In (for the respective env. E.g. dev.va.gov or staging.va.gov)
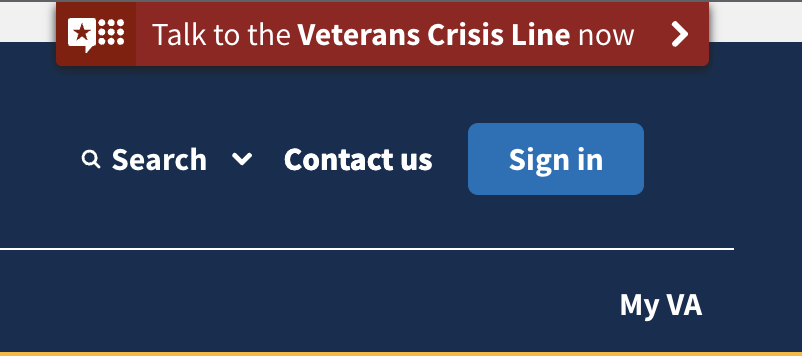
Sign In
Sign in via a given identity provider (use your new test user here)
After successful login, locate the following cookies in the developer console
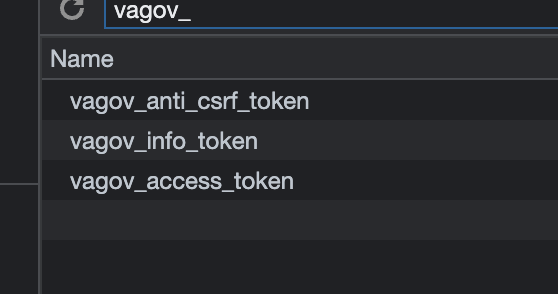
Find cookies
vagov_anti_csrf_tokenvagov_info_tokenvagov_access_token
On your test in Postman, select cookies
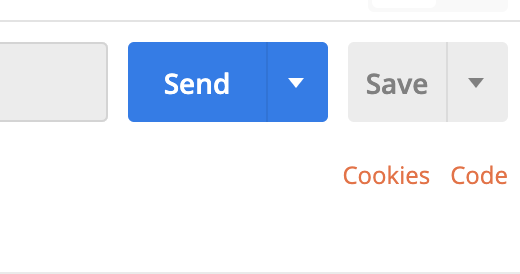
Postman test cookies
5. Manage cookies for the given domain (e.g. dev-api.va.gov, staging-api.va.gov) and add the necessary cookies. Copy/Paste the cookies from your browser into the cookie value
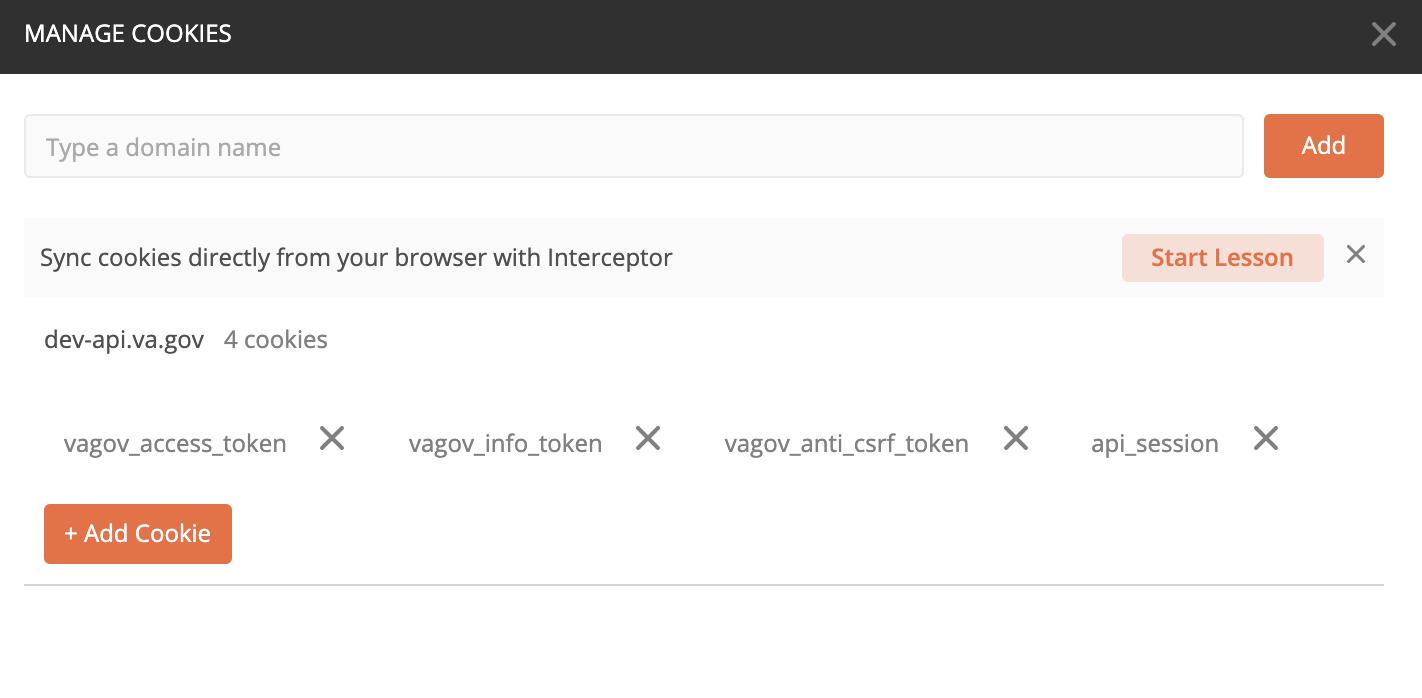
Manage Cookies
6. The access token will expire after 30 minutes, so the refresh token can be used to obtain another valid access token. Otherwise, values will need to be updated upon expiration for successful testing.
Recording Test Results in TestRail
Request access to Test Rail. See TestRail Guide.
Create a Project for your Team OR use the Migrate Vets API to EKS project
Click on “Test Cases” (top nav bar) => “Add New Test”
Add your test case
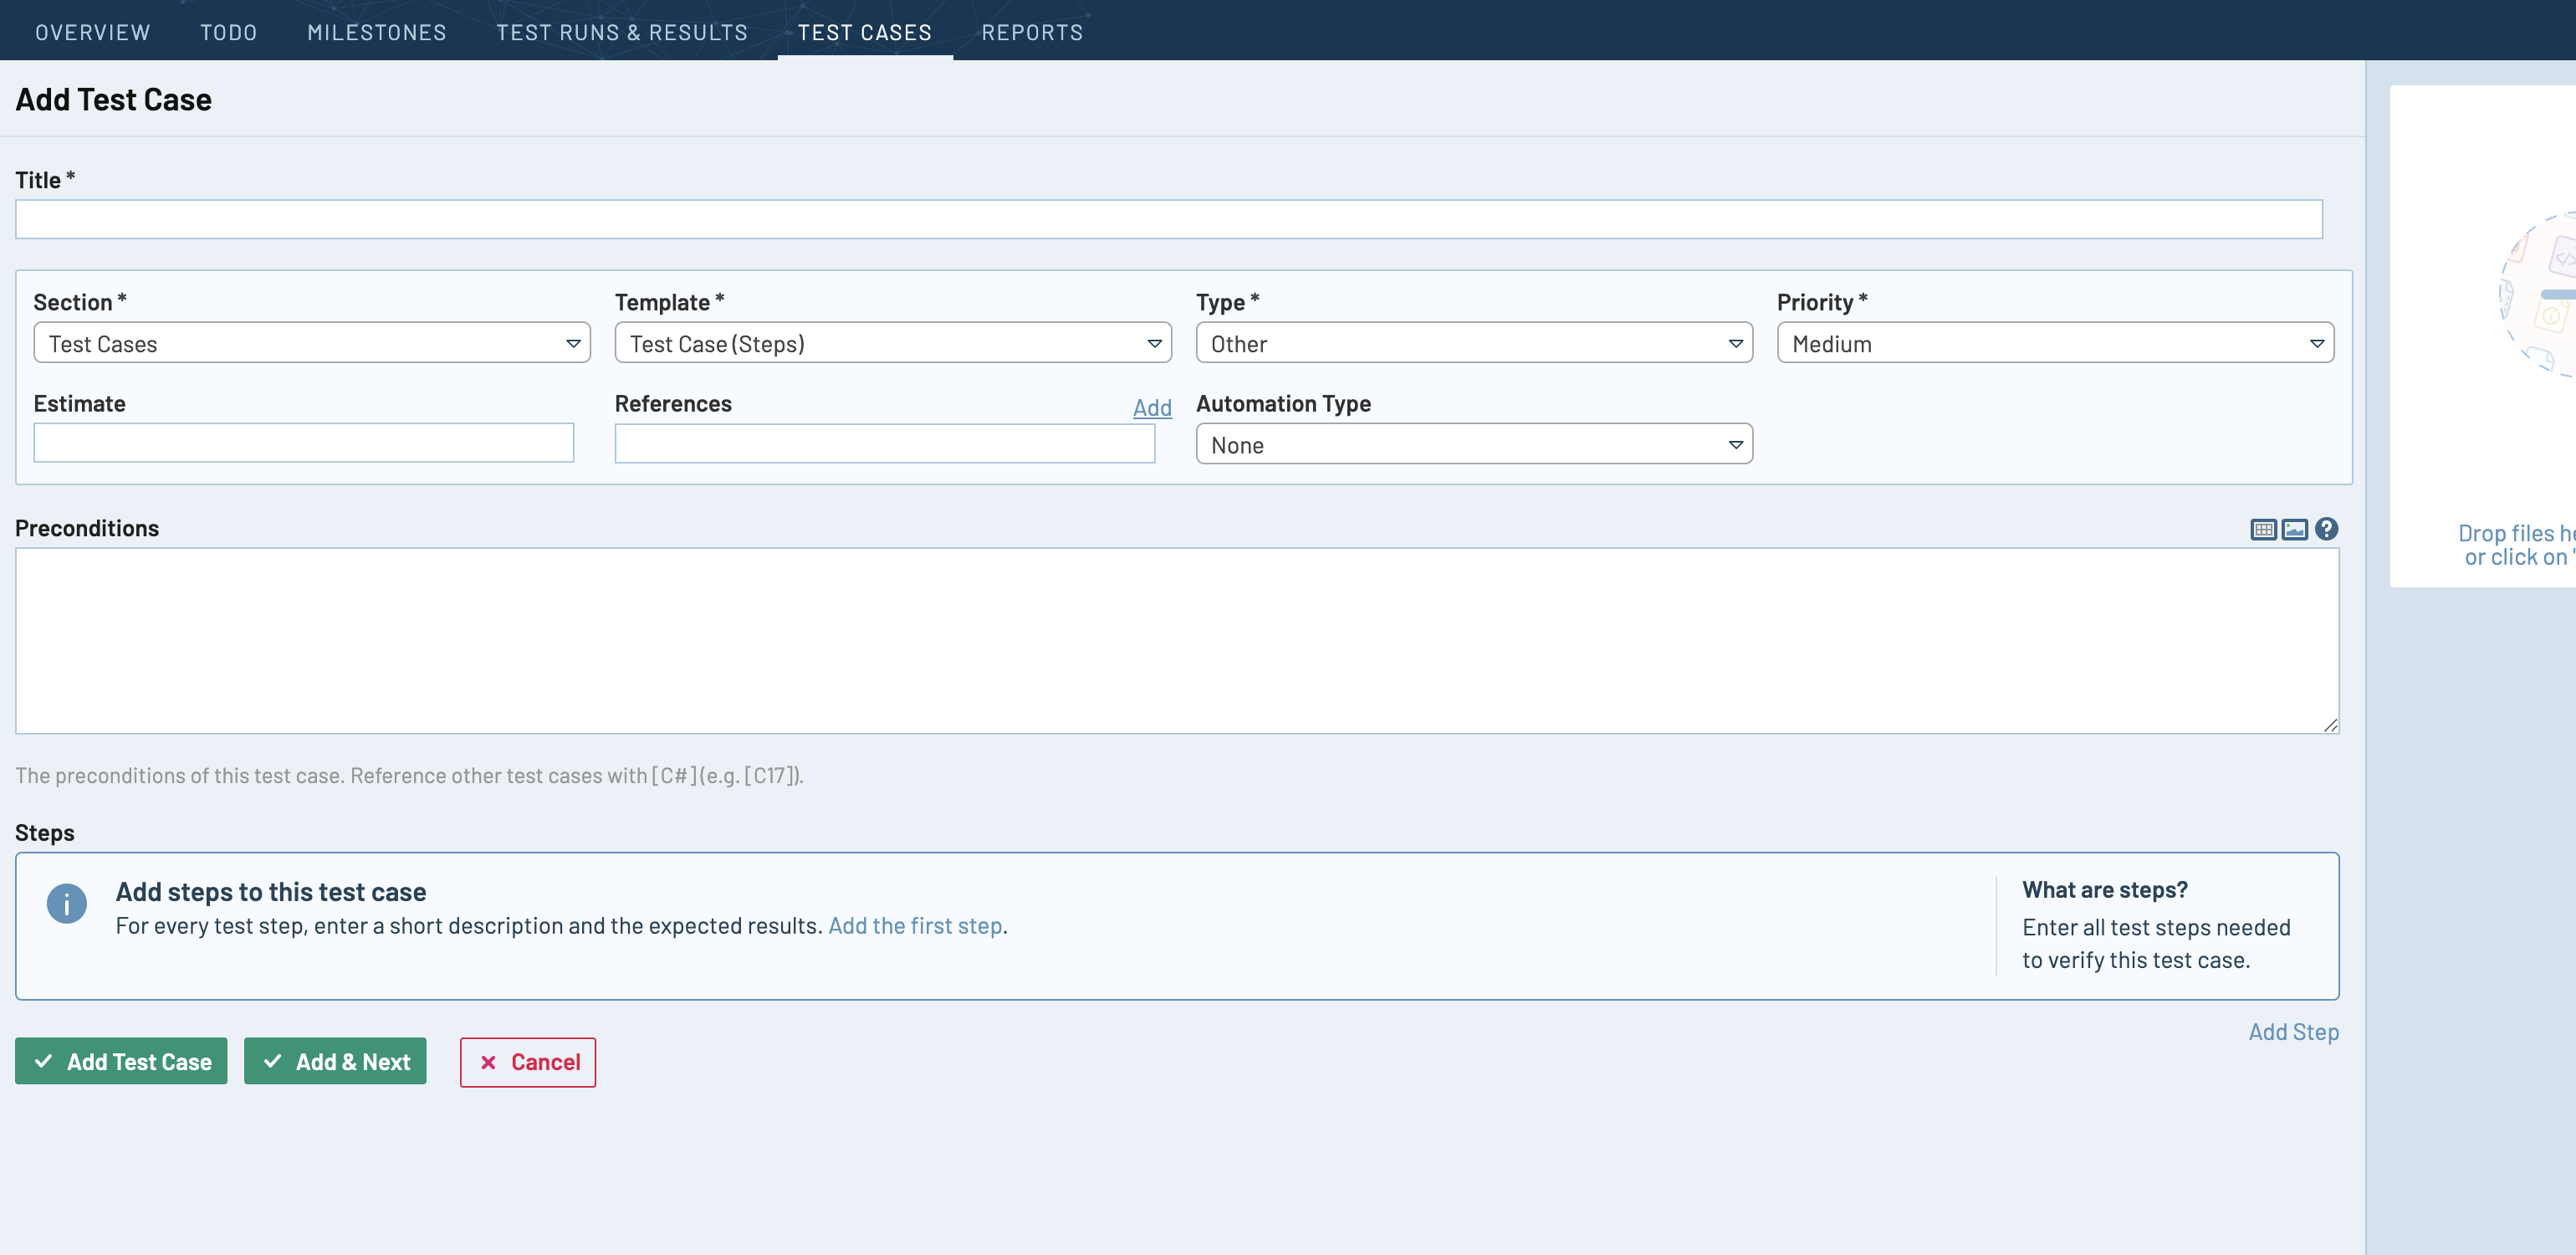
Add a Test Case
5. Perform manual testing. Note: Test rail does not perform the test run itself, it’s only a place to record
test results.
6. Add Test Run and record your results. See test run examples

Add Test Run
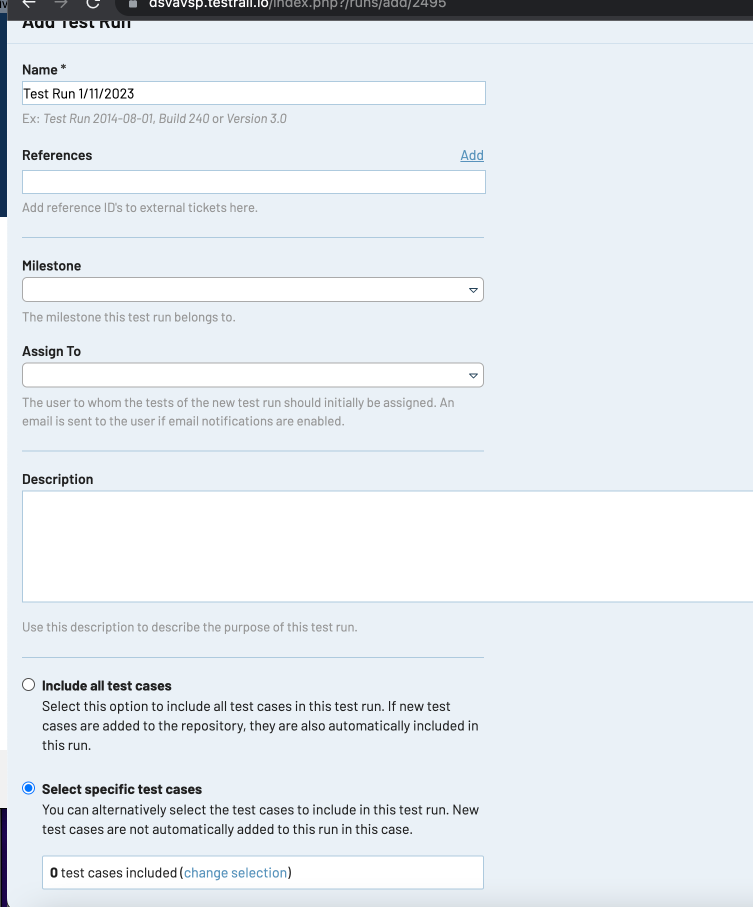
Run Specific Test Case
Help and feedback
Get help from the Platform Support Team in Slack.
Submit a feature idea to the Platform.
