

Last Updated: January 9, 2025
TestRail is a web-based test case management tool that allows team members to enter test cases, organize test suites, execute test runs, and track their results through a web interface. The Platform provides a TestRail cloud instance to create, execute, and maintain manual test plans. On this page you’ll learn some initial preparation steps for accessing and using TestRail, and how to create a project in TestRail using a short video tutorial to help get you started.
TestRail projects are the highest level of organization available in TestRail. The Platform recommends using one project for each VFS Team.
Before you begin
Get access to TestRail. For information on how to do this, see “TestRail access” under Request access to tools: additional access for developers.
Creating a TestRail project
-
Verify you’re logged into the DSVA Platform TestRail instance as an Administrator.
-
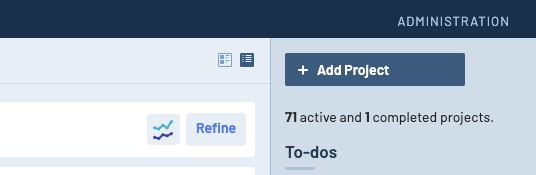
Select the Add Project button from the Dashboard.
-
Enter your project details. Include a link to your GitHub project space and issue tracker.
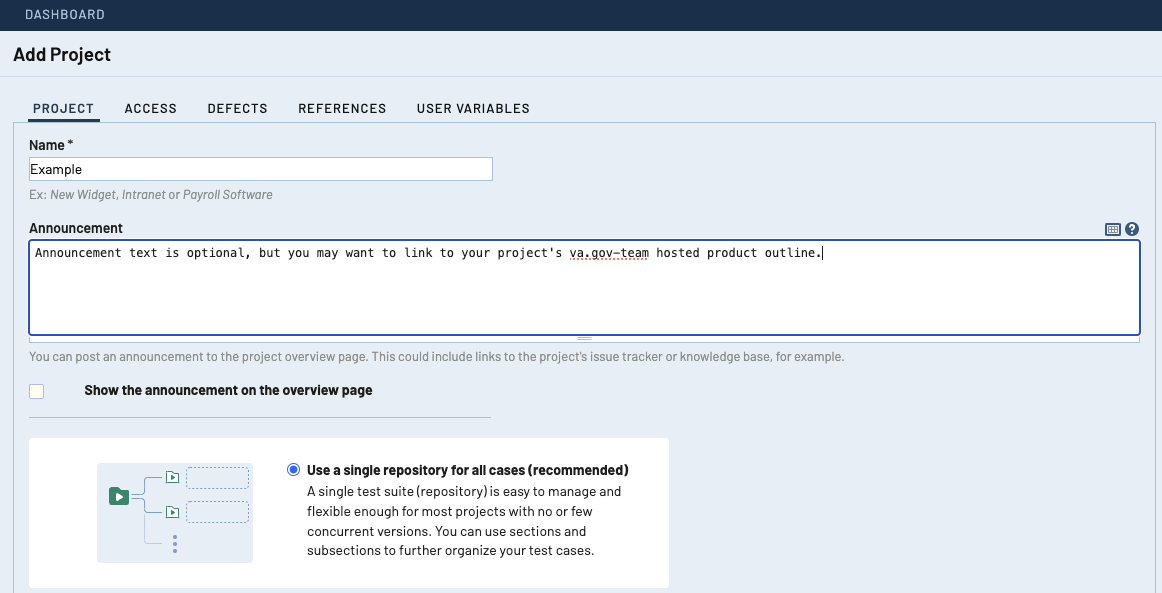
Add TestRail Project details -
Choose the default repository selection (Use a single repository...) to create a single test suite for the project.
-
Select the Add Project button below the repository selection area.

Add Project button
-
Verify your project was successfully created.
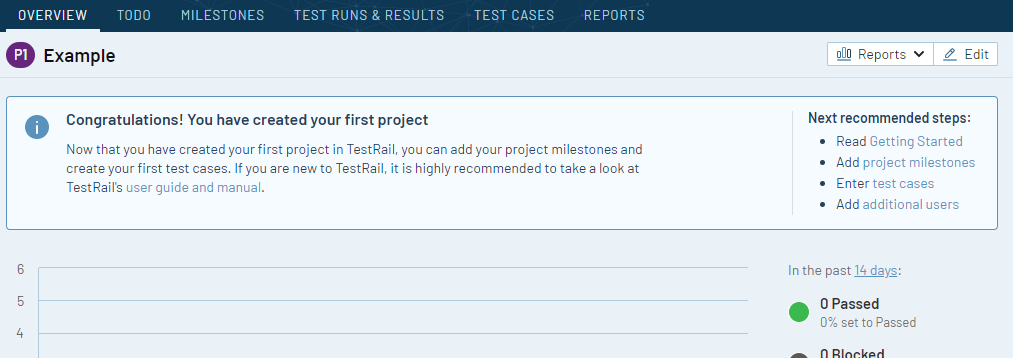
TestRail project created successfully!
Screen Capture Video Tutorial
This video tutorial shows how to create projects in TestRail.
Help and feedback
-
Get help from the Platform Support Team in Slack.
-
Submit a feature idea to the Platform.