Cypress Integration Test Workflow - for CI failures
Last Updated: October 24, 2024
Introduction
Engineers working with vets-website need to be able to quickly iterate on integration test specifications when there are e2e failures in the Continuous Integration workflow. Due to differences between local and CI execution environments Cypress tests do not always produce the same results. The Cypress Integration Test Workflow allows users to more readily diagnose tests that are failing in the CI workflow without having to wait for the full CI workflow to run, which can take anywhere from twenty minutes to an hour to complete each time.
The Cypress Integration Test Workflow MVP is now available here.
Steps for using the workflow:
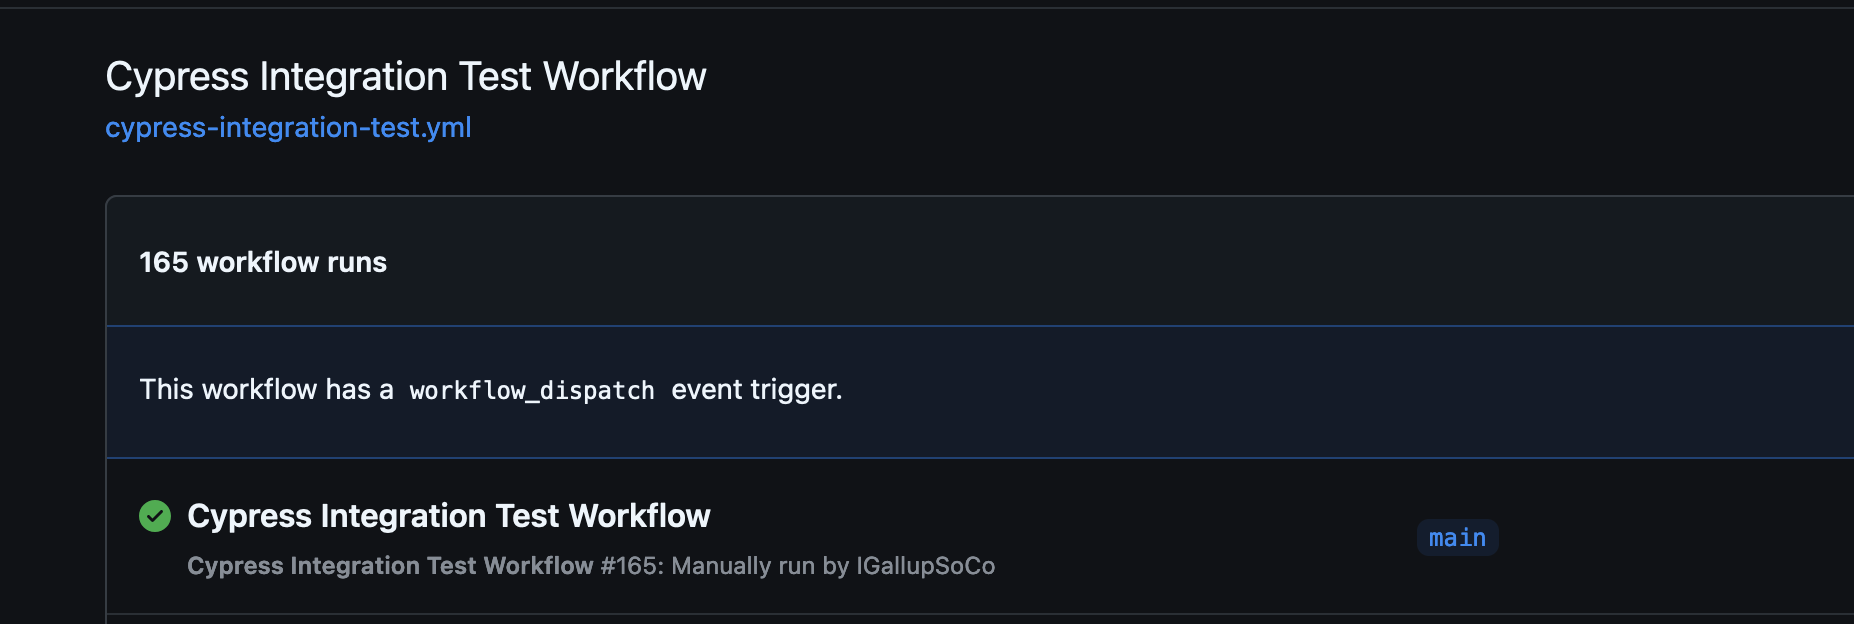
From the above link, you will arrive at the workflow’s page in vets-website, featuring the workflow name and a list of linked, past workflow runs.

Workflows can be found in the Actions tab of a given repository
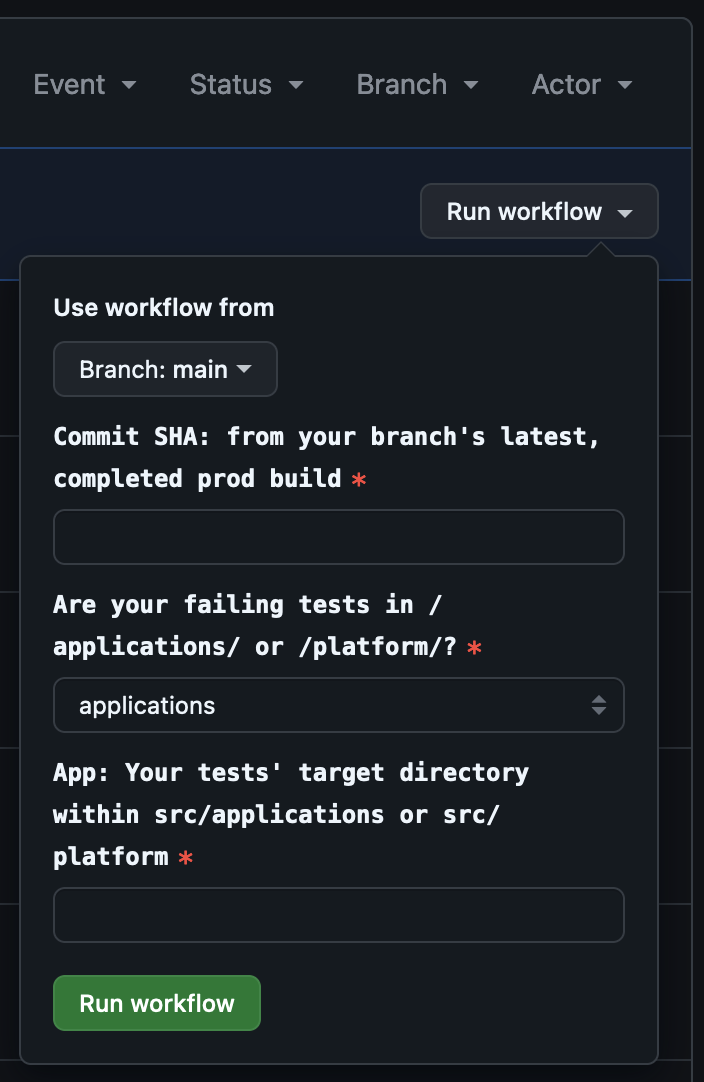
On the right side of the page, find the Run workflow button and click it. You should see something matching the screenshot below.

The latest appearance of the modal at the time of writing
You will provide a set of inputs to dictate the parameters for a new workflow run:
You will use the workflow from the main branch of vets-website, unless you are testing changes with the workflow itself.
The Commit SHA field will require a full SHA, not the truncated one visible in most places where it can be found in vets-website. Recent commits may need time for CI to produce and archive a build for their given SHA.
This can be most conveniently captured by navigating to the Code tab found on the vets-website repository page, then clicking the commit count button. In the screenshot below, it appears as “29,873 Commits.”

If the page default of main is left unchanged, that button defaults to this page: https://github.com/department-of-veterans-affairs/vets-website/commits/main/
The page will load a list of recent commits and their SHAs, which represent a squashed branch that has been merged into main. A branch menu, which defaults to “main,” is visible above the list, and can be used to specify your current branch. As seen in the screenshot below, each commit includes a copy button, as shown in the screenshot below. Simply click it to copy the chosen commit’s SHA to your clipboard. Now you can return to the Cypress Integration Test Workflow’s page/tab to paste that into the input field.
.png?inst-v=0d160eba-b459-418e-b94b-13382d9233ed)
The SHA shown beside the copy button is truncated for the UI and will not be useful for the workflow
Alternatively, you can reach the commit SHAs from the compare page of your branch in the vets-website repo:
https://github.com/department-of-veterans-affairs/vets-website/compare/[your branch name here]…main
Click the copy icon associated with your commit as done with the other method, then paste it into the workflow input field.
c. Next is the Are your tests failing in […] input. You will now help the workflow build the specPattern for your app-specific tests by specifying one of the following directories:
vets-website/src/applicationsor
vets-website/src/platformd. In the final input field, provide the name of the app/product directory that contains your failing test specs, as it would appear in the path above. For example: appeals if your e2e test failures originate from specs stored in vets-website/src/applications/appeals.
i. Some universal e2e specs, such as any site-wide tests, are stored in vets-website/src/platform/ and will need the directory name provided in the same way as above.
Once you have provided your inputs, click Run Workflow.
 The page will refresh. Your newly queued workflow may not immediately appear. Simply wait for the page to update the listing.
Run Times
Workflow run times will vary, based on your use case. Running the e2e specs for products like the 10-10EZR form may take more than 15 minutes, while smaller ones may take as little as 7.
Once your workflow is complete, review the test results. If there are any specs consistently failing, the workflow can be run again once your latest product code changes have been committed and pushed to the repo. Just remember to replace the build SHA input with one from your commits as you push them.
Goals for this workflow
Ultimately, waiting on CI to rerun tests with each push is a slow momentum-killer. Our goal is to provide a more rapid means of evaluating and correcting the problems behind e2e test failures. As this workflow is currently in an MVP state, suggestions/feedback are not only welcome, but requested.
Please don’t hesitate to reach out to the Platform Reliability Team with any questions or feedback.
Help and feedback
Get help from the Platform Support Team in Slack.
Submit a feature idea to the Platform.
